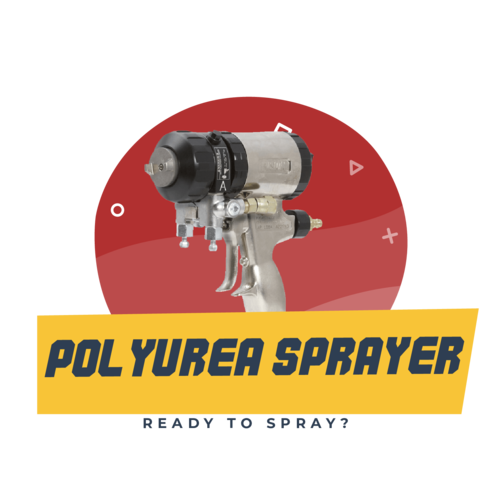
- Follow your equipment Pressure Relief Procedure before cleaning, checking, or servicing equipment. Disconnect hoses from the gun.
- We begin by air purging all of the material from the Resin side of the system.
- Close the transfer pump air line needle valve, disconnect the airline from the Resin transfer pump and remove the pump from the material drum. If possible lift the inlet ball to drain the material from the transfer pump. Wipe the exterior of the pump with a clean rag.
- Insert the Resin transfer pump into an empty pail and secure to prevent tipping. Reconnect the air line.
- Utilizing just the transfer pump gently open the transfer pump air line needle valve and purge the chemical back into the drum that it came from. (This will purge all the Resin from the system and fill the system with air allowing us to save most of the material in the system). Once all material has been purged from the system close the transfer pump air line needle valve and disconnect the airline on the Resin transfer pump.
Do not use machines main pumps and ensure primary heaters and hose heaters are off.
- We now need to repeat this procedure (Steps 3 - 5) to purge all of the material from the Iso side.
- Now that the fluid has been air purged from the system we can start the cleaning procedure. Fill two separate 5-gallon pails with 2-4 gallons of All-Solve (1 pail for the (A) Iso side and 1 pail for the (B) Poly side). All-Solve is especially useful for cleaning the proportioner, transfer pumps and hoses, as it quickly and thoroughly cleans polyols, crystallized isocyanates, and other urethane intermediates.
On average a proportioner requires 1 to 1.5 gallons of fluid per side (A Iso and B Poly) to flush the transfer pump, proportioner and 50 feet of hose. Each additional 50-foot length of hose will require another 0.5 to 0.75 gallons of fluid.
- Insert each transfer pump into separate 5-gallon pails of All-Solve and secure to prevent tipping the pails. Reconnect the airline. Slowly open the transfer pump air line needle valve and fill the system with All-Solve. Purge the first 1/2 gallon of material per side into a waste pail. Safely dispose of the waste materials by federal, state/provincial and local regulations.
- Once the proportioner has been filled with All-Solve, you can turn on the proportioner and set the first and hose heaters to 150° F and turn on the heaters (Do not attempt to pressurize the system).
- Securely sss the material hose ends to their respective pails of All-Solve, use a filter/screen under the chemical hose ends if you suspect debris to be in the machine, open the transfer pump air line needle valve and allow the All-Solve to recirculate throughout the system for 2-4 hours or longer depending how much scale has built up on the inside of the system.
- Once the cleaning procedure has finished, we will need to air purge the All-Solve from the system.
- Insert the transfer pumps into an empty pail and secure to prevent tipping. Reconnect the air line.
- Using just the transfer pump slowly open the transfer pump air line needle valve and purge the All-Solve back into the 5-gallon pail it came from (the All-Solve can be saved and used again to flush the system at a later date). Once all the All-Solve has been purged from the system close the transfer pump air line needle valve and disconnect the airline from the transfer pump.
CHOOSE AN OPTION BELOW DEPENDING ON WHAT YOU ARE DOING
GO BACK TO SPRAYING
- Wipe the exterior of the transfer pumps with a clean rag. Insert the transfer pumps into their respective material drums and secure. Reconnect the airlines.
- Slowly open the transfer pump air line needle valve and fill the system with Iso and Resin. Purge the first 1/2 gallon of material per side into a waste pail. Safely dispose of the waste materials by federal, state/provincial and local regulations.
- Re-attach the spray gun to the hoses, turn on the proportioner, set the temperatures and pressures according to the material specifications, and spray onto a piece of cardboard or another disposable surface to ensure material is spraying and curing correctly. You are now ready to spray.
PUT THE PROPORTIONER INTO STORAGE
- Fill two 5 gallon pails with 2-4 gallons of Pump Fluid, a highly refined, special purpose lubricant that can be used for equipment flushing, equipment storage and throat seal lube.
- Wipe the exterior of the transfer pumps with a clean rag. Insert the transfer pumps into separate 5-gallon pails of Pump Fluid and secure to prevent tipping the pail. Reconnect the airline.
- Slowly open the transfer pump air line needle valve and fill the system with Pump Fluid. Purge the first 1/2 gallon of material per side into a waste pail. Safely dispose of the waste materials by federal, state/provincial and local regulations.
- Securely fasten the material hose ends to their respective pails of Pump Fluid, open the transfer pump air line needle valve and allow the Pump Fluid to recirculate through the system for 15 minutes.
Do not use machines main pumps and ensure primary heaters and hose heaters are off.
- Re-attach the spray gun to the hoses, turn the proportioner on and increase pressure to 1000 psi. Trigger spray gun until the pump is in the park/retract position and pressure falls below 500 psi. Ensure all valves are closed, and power is off. Remove and clean spray gun. The proportioner can now be safely stored.


Thanks for taking the time to discuss on Paint Sprayers, I feel strongly about this and so really like getting to know more information about sprayer. It should be really useful for all of us. pneumatic paint sprayer
ReplyDelete